July 21, 2026 • Tomás Guerreiro • 12 min reading time • Specs verified June 18, 2026
Building a Low-Cost Drip System from Scratch: Faucet Connection Kits, Micro-Drip Kits, and Emitter Selection Without the Guesswork
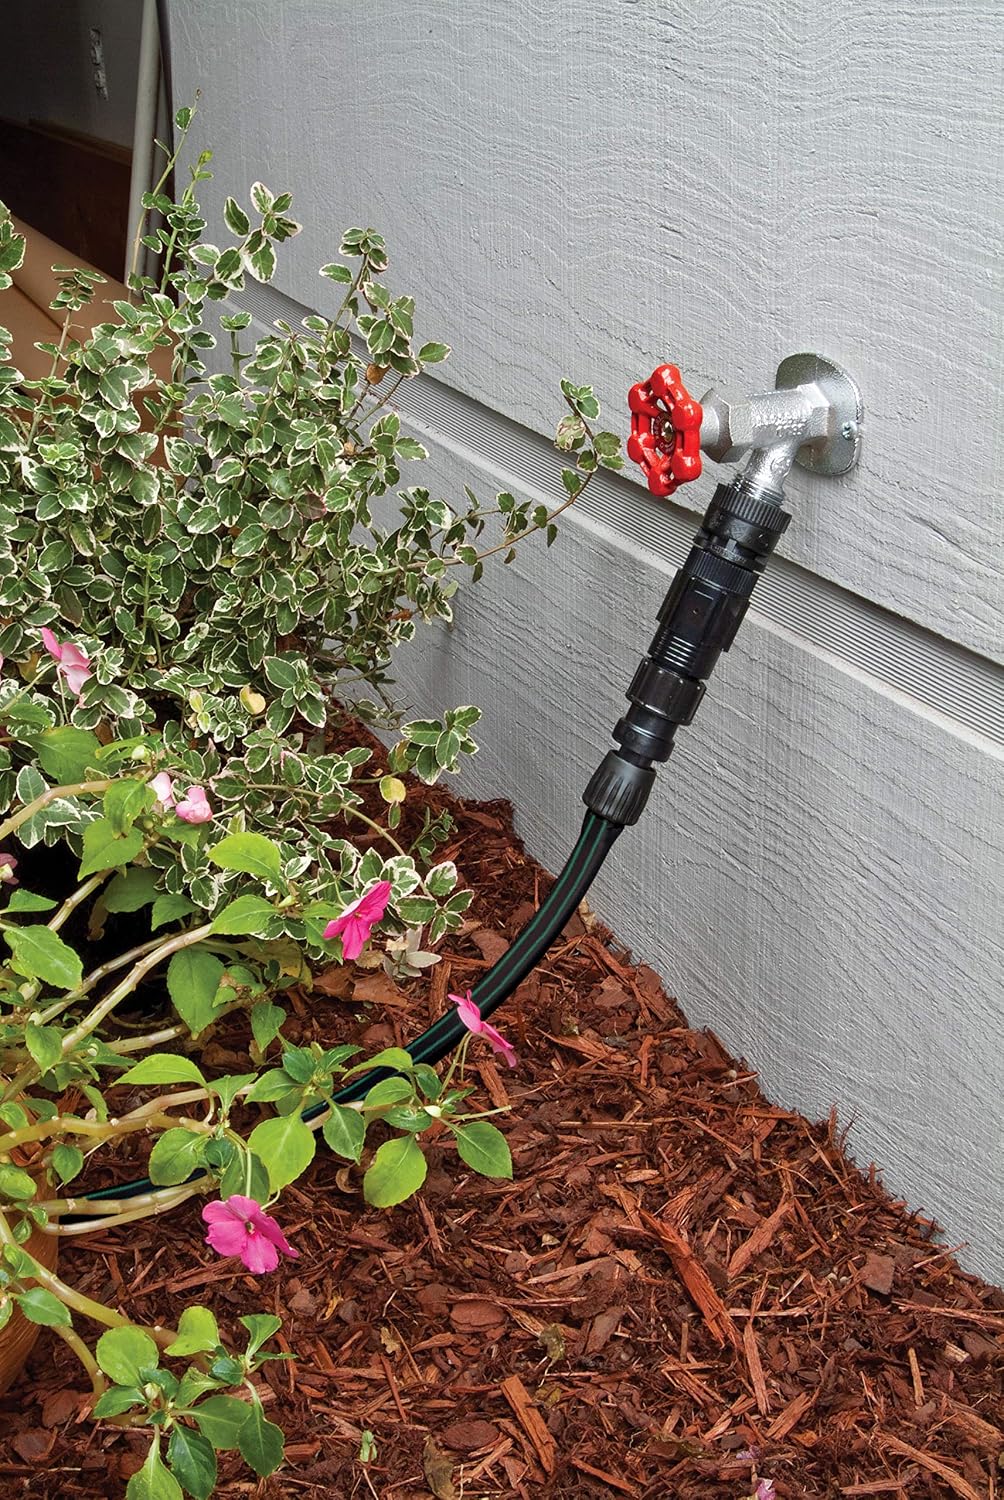
Drip irrigation sounds technical, but the core idea is simple: instead of spraying water through the air and hoping it lands near plant roots, you run thin flexible tubing close to the ground and release water slowly, right at the base of each plant. Emitters — small plastic fittings that click or barb into the tubing — control how many gallons per hour each plant receives. The result is less evaporation, fewer weeds, and healthier roots. The catch? Walk into any irrigation aisle or scroll through an online catalog and you’ll find hundreds of parts — tubing in five diameters, emitters in a dozen flow rates, manifolds, filters, pressure regulators, end-caps — and no obvious starting point. That paralysis is real, and it’s why boxed drip kits exist. This guide is built around one honest question: when does buying a kit actually make sense, and when should you build from components? We’ll answer it with math, field-sourced details, and a clear decision rule at the end.
The Kit-vs-Components Tension: Why Most Buyers Choose Wrong
Here’s the pattern that shows up repeatedly: buyers who spec components individually almost always underestimate what they need. They forget a pressure regulator, order the wrong filter mesh, or buy ½-inch tubing when the kit connections assume ¼-inch. By the time they’ve made two correction orders, they’ve spent more than a complete starter kit and have a parts drawer full of odds and ends.
The Irrigation Association, in their publication Landscape Irrigation Best Management Practices, is blunt about one point: drip systems operating without a pressure regulator at the head of the run are the single most common source of emitter blowouts and over-watering. House hose bibs typically deliver 40–80 PSI. Most drip emitters are rated for 15–30 PSI. Without a regulator, you’re not dripping — you’re misting, or worse, popping fittings off at ground level while your plants drown.
Kits bundle the regulator, filter, and tubing adapter into one unit. That’s their genuine value. But kits also come with trade-offs:
- Emitter selection is fixed. A kit assumes average plant needs. If you’re running tomatoes next to lavender, one-size-fits-all fails.
- Tubing runs are finite. Most entry-level kits cover 50–150 linear feet. Real garden beds often need more.
- Quality varies wildly by component. The manifold in a kit may be excellent while the emitters are mediocre — and you won’t know until you’re troubleshooting dry spots in July.
The decision frame: If your zone has similar plants at similar spacing and your run is under 100 feet, start with a kit. If your zone has mixed plant types, heavy-use vegetables, or runs longer than 150 feet, buy the head assembly as a kit and source your emitters and tubing separately.
What the Numbers Actually Tell You About Emitter Selection
Before you click anything, do this math. It takes five minutes and saves you from the most expensive mistake in low-volume drip: setting emitters too high and wasting water at a rate that defeats the entire purpose of drip irrigation.
By the Numbers
| Plant Type | Recommended GPH per Emitter | Emitters per Plant | Daily Runtime (1 gal/plant target) |
|---|---|---|---|
| Tomatoes (established) | 1–2 GPH | 2 emitters | 30–60 min |
| Ornamental shrubs | 1 GPH | 1–2 emitters | 60 min |
| Annual flowers / groundcover | 0.5 GPH | 1 emitter | 120 min |
| Mature trees (15-gal+) | 2 GPH | 2–4 emitters | 60–120 min |
Sources: UC ANR (University of California Agriculture and Natural Resources), publication “Drip Irrigation for Home Gardens”; Colorado State University Extension, publication “Drip Irrigation for Home Gardens”
Adjustable emitters present a specific discipline problem worth naming directly. Many kits ship with adjustable emitters that can be turned up to their maximum flow rate with almost no resistance. At max output, an adjustable emitter can dump 3–5 GPH — triple what most ornamental plants need. Run six of those on a 30-minute timer and you’ve just applied 2.5–4 gallons per plant per session, which waterlogged roots do not forgive. The fix is simple: set adjustable emitters at their lowest setting, let the system run a full cycle, and verify the soil moisture at 6-inch depth before stepping up. The EPA WaterSense program, in its guidance document Water-Efficient Landscaping, recommends soil moisture verification as standard practice before any runtime adjustment — not just as a troubleshooting step.
Kit-by-Kit Breakdown: What Owners and Reviewers Actually Report
Rain Bird FCKIT — The Hose Bib Starter Kit
Rain
$7.99
In stock on Amazon
Check price on AmazonThe Rain Bird FCKIT is the benchmark against which other entry-level faucet connection kits are judged. It ships with a backflow preventer, Y-filter (150 mesh), pressure regulator (preset at 25 PSI), and hose-thread adapter — everything you need between the bib and your ½-inch mainline tubing.
One field detail that surfaces consistently in owner reviews and is worth repeating: when ¼-inch barbed fittings resist insertion into poly tubing — and they will, especially in cool weather — a few seconds with a hair dryer softens the tubing enough to seat the barb cleanly without splitting the line. This is not a workaround; it’s standard practice. Cold poly tubing grips barbs so tightly that forcing them risks micro-tears that leak invisibly for weeks. Warm the tubing, push the fitting home, let it cool — done.
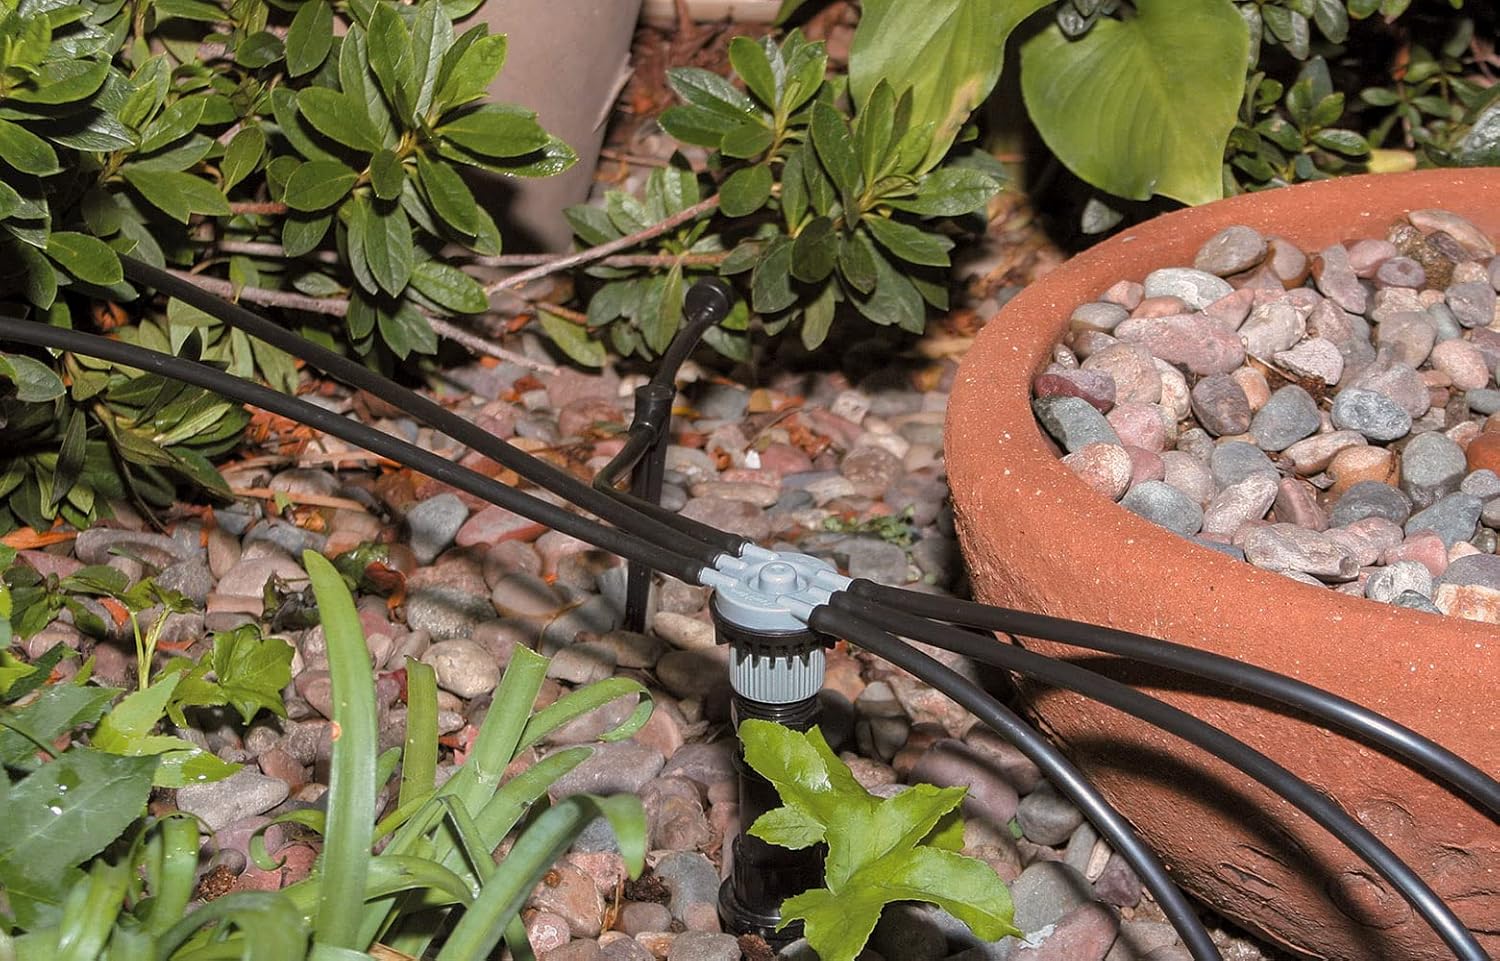
Rain Bird’s SW20-30PS emitter is worth naming specifically. Its off-center barb design positions the insertion point at an angle rather than straight-center. In practice, this means you can push it into ¼-inch tubing mid-run without needing a punch tool aligned at a perfect 90 degrees — the angled approach gives you more hand clearance in tight plantings. When you’re on your knees in a raised bed with six inches of clearance between plant stems, that geometry matters. Competing barbed emitters with center-axis barbs require more precise tool alignment and generate more split-line failures when the punch angle drifts.
Best for: Single beds with similar plants, runs under 100 feet, first-time drip installers who want a proven head assembly.
MIXC Quick-Connect Drip Kit
Rain
$20.97
In stock on Amazon
Check price on AmazonThe MIXC system takes a different ergonomic approach: push-to-connect fittings rather than barbed fittings throughout. For a first-time installer working alone, the click-in connection reduces assembly time significantly and eliminates the hair dryer step entirely. Owners report clean, leak-free connections out of the box when the tubing is cut squarely.
The adjustable-emitter discipline check noted above applies specifically here. Treat initial calibration as a required step, not optional: set emitters at minimum flow, run a full cycle, and check soil moisture at 6-inch depth before adjusting upward. The kit’s ergonomic advantage is real; the flow discipline requirement is equally real.
Best for: Solo installers who want the fastest possible setup, gardeners who prefer tool-free connections, and situations where installation speed matters more than long-term component flexibility.
Multi-Port Pressure-Regulating Manifold
Rain
$46.16
In stock on Amazon
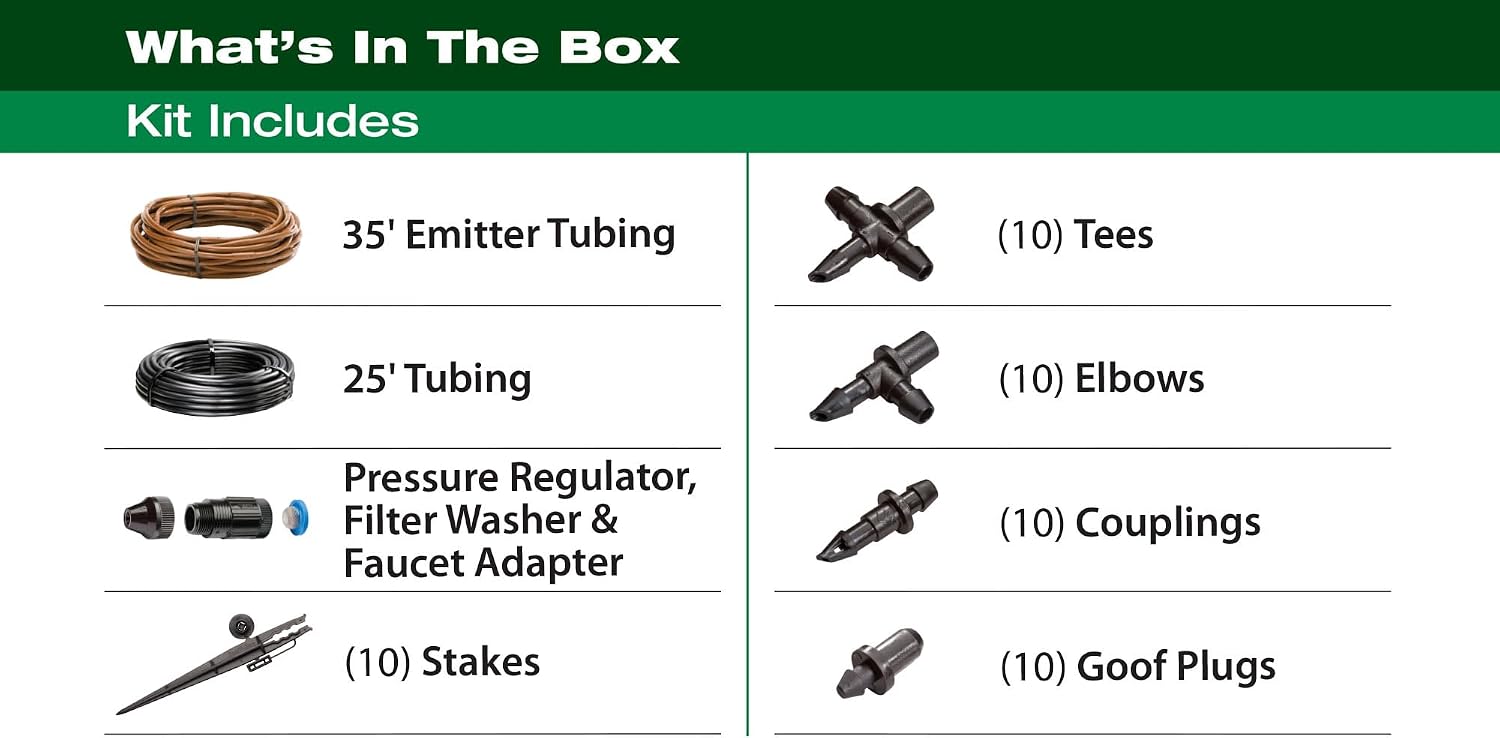
Check price on AmazonFor anyone running multiple drip zones from a single water source, a multi-port manifold eliminates a tangle of Y-splitters and individual regulators. A 9-port pressure-regulating manifold — available from Rain Bird, DIG, and several other irrigation-focused manufacturers — is a popular choice for multi-zone builds and generally earns strong reviews. However, one recurring caution from experienced installers deserves direct mention: port thread connections on manifolds sourced from lesser-known brands occasionally arrive with minor thread imperfections that cause slow leaks.
That risk has a clear mitigation: bench-test any manifold before burial. Connect it to a water source, pressurize the system, and walk every port connection before you trench. A manifold that leaks underground costs far more in labor to unearth and replace than the manifold itself is worth. The pressure regulator built into a quality regulated manifold (typically 25–30 PSI at the inlet) is legitimately useful for multi-zone drip fed from a zone valve — it removes the need for individual inline regulators on each run.
Best for: Multi-bed systems running from a single hose bib or zone valve, gardeners who want to eliminate per-zone pressure regulators, and anyone managing four or more separate drip laterals.
Extending a Kit vs. Starting Over
One of the most common intermediate-stage questions is whether a starter kit can be extended as a garden grows, or whether expansion means a new kit purchase. The honest answer: both Rain Bird and MIXC systems are extensible, but the connection standard matters.
Rain Bird’s barbed system uses universal ¼-inch and ½-inch poly tubing dimensions shared by virtually every other brand. You can source additional tubing, emitters, couplings, and end-caps from any irrigation supply house and they’ll interoperate. MIXC’s push-connect fittings work on the same standard tubing dimensions, but the proprietary quick-connect collars may not seat reliably on off-brand tubing — stick with MIXC-branded tubing for the quick-connect sections and transition to barbed fittings for any extension runs added in later seasons.
Neither kit requires full replacement to expand. Add a distribution manifold at the terminal end of your mainline, run secondary ¼-inch tubing out to new plant beds, and emitter the new runs independently. Your existing head assembly (regulator, filter, backflow preventer) handles the added load as long as total GPH demand stays within your supply capacity. Colorado State University Extension’s publication Drip Irrigation for Home Gardens recommends keeping total system demand below 60% of your measured hose bib GPM — a number you should establish before adding a single lateral.
Drip Through Winter: The Low-Maintenance Use Case
One owner pattern worth noting comes from cold-region gardeners who run drip through mild-freeze winters — temperatures that drop to 20–28°F occasionally but don’t sustain hard freezes for weeks. The approach reported consistently: disconnect the head assembly, drain the mainline by pulling one end-cap, leave the ¼-inch emitter lines in place, and inspect emitters at spring startup before the first run.
In USDA zones 7b–9b, this approach is reasonable. Emitter bodies are small enough that residual water volume is minimal, and freeze damage to poly tubing typically manifests as visible splits or brittle cracking that’s easy to spot on inspection. The backflow preventer and filter housing are the vulnerable components — those come off for winter storage in any climate where temperatures regularly hit 25°F or below. The Irrigation Association’s Landscape Irrigation Best Management Practices is explicit on this point: any component with a trapped water chamber (backflow preventers, filter housings, pressure regulators) should be drained and stored above freezing.
Frequently Asked Questions
Do I need a pressure regulator for a drip system connected to a standard house hose bib? Yes, without exception. House hose bibs deliver 40–80 PSI. Drip emitters are rated for 15–30 PSI. Without a regulator, emitters blow off, tubing joints leak, and water application is uncontrolled. Every kit covered in this article includes a regulator; if you’re building from components, budget $8–$15 for a preset inline regulator as your first purchase.
What GPH emitter should I use for tomatoes vs. ornamental shrubs? Tomatoes: 1–2 GPH per emitter, two emitters per plant, for a target of 2–4 gallons per plant per day at peak summer. Ornamental shrubs: 1 GPH per emitter, one or two emitters depending on root spread. See the table in the emitter selection section for runtimes.
Can I extend a starter kit by buying additional components, or do I need a new kit? You can extend both Rain Bird and MIXC systems. Rain Bird’s barbed system uses universal poly tubing dimensions and accepts components from any brand. MIXC’s push-connect sections work best with MIXC-branded tubing; plan on barbed fittings for extension runs sourced elsewhere. Neither requires starting over.
How often should I inspect emitters, and what are signs of clogging? Inspect every 4–6 weeks during the active growing season. Clogged emitters show dry soil in a ring around a plant that should be receiving water, or a wet spot at a nearby junction point where water is backing up. Root intrusion and mineral scale from hard water are the two most common causes. A 150-mesh filter at the head assembly is your primary defense; flush the filter at the start and midpoint of each growing season.
Will a drip kit work through winter without winterizing in a mild-freeze climate? In USDA zones 7b–9b (occasional dips to 20–25°F but no sustained hard freezes), owners report success with minimal winterization: remove and store the head assembly, drain the mainline, and inspect for split tubing at spring startup. Any climate with sustained freezes below 20°F warrants full system removal or burial below frost depth.
What is the difference between a regulated and free-flow drip manifold? A regulated manifold has a pressure-reduction valve built into the inlet that drops incoming pressure (often 45–80 PSI from a zone valve or hose bib) down to drip-appropriate levels (25–30 PSI) before distributing to individual ports. A free-flow manifold simply splits the incoming water to multiple outlets without pressure reduction — it requires a separate inline regulator upstream. For most hose bib and timer-based systems, the regulated manifold simplifies installation and reduces parts count.
Buying Decision: If X, Then Y
If you’re planting a single bed with similar plants and a run under 100 feet: Start with the Rain Bird FCKIT head assembly and the Rain Bird SW20-30PS emitters. The head assembly handles your pressure and filtration; the SW20-30PS emitters give you installation flexibility in tight spaces. Total entry cost is well under $60 for most configurations.
If you want tool-free installation and are comfortable with adjustable emitters: The MIXC quick-connect kit is the faster setup. Commit to the low-flow discipline on the adjustables — start at minimum, verify soil moisture, step up only with data.
If you’re running multiple beds from one source: Add a multi-port pressure-regulating manifold from a recognized irrigation brand (Rain Bird, DIG, or similar) after your filter. Bench-test it before burial — pressurize, walk every port, confirm no seepage at thread connections. Budget for one replacement unit as a contingency.
If you’re building a larger system and want component-level control from the start: Buy the Rain Bird FCKIT for the head assembly, source your own ½-inch poly mainline, and select emitters by plant category using the GPH table above. Your total cost will be 10–20% higher than a complete kit, but every component is independently replaceable without retiring the whole system.
The governing constraint in any drip design is your GPM budget at the source — measure your hose bib flow before you size anything else. A standard hose bib delivers 3–5 GPM at typical household pressure. At 1 GPH per emitter, that’s 180–300 emitters theoretical maximum before pressure drops. Real-world, stay under 60% of that ceiling, per Colorado State University Extension’s Drip Irrigation for Home Gardens guidance, and your system will perform reliably across the growing season.