May 11, 2026 • Tomás Guerreiro • 10 min reading time • Specs verified June 18, 2026
Building a Drip Zone for Ornamental Beds: Manifolds, Pressure Regulation, and Emitter Math That Actually Works
If you’ve ever watched a freshly planted ornamental bed struggle through August while your rotary heads hammer the mulch into oblivion, you already know the problem: spray irrigation and ornamental beds are a bad pairing. Drip irrigation is the fix — it delivers water directly to the root zone of each plant through small, slow emitters (tiny devices that release water at a measured rate, typically 0.5 to 2 gallons per hour). Because drip runs slowly and at low pressure, it keeps foliage dry, cuts evaporation, and can be dialed in plant-by-plant. The catch is that building a drip zone from scratch involves a few engineering concepts — pressure regulation, flow rate math, manifold layout — that aren’t obvious if you’re used to designing spray zones. This article is a working design framework: walk through it once, and you’ll be able to spec any ornamental bed drip zone with confidence.
| EDITOR'S PICK[Rain Bird MANIFPRPS2 Drip Irrig…](https://www.amazon.com/dp/B003MZ1ESW?tag=greenflower20-20) | Mid-tier[Rain Bird FCKIT-1PK Drip Irriga…](https://www.amazon.com/dp/B000FK256C?tag=greenflower20-20) | Budget pick[Rain Bird MANIFRE6S Drip Irriga…](https://www.amazon.com/dp/B06XJR6GPM?tag=greenflower20-20) | |
|---|---|---|---|
| Port count | 9 | — | 6 |
| Pressure reg. | ✓ | ✓ | ✗ |
| PSI rating | 25 | 25 | — |
| Connection | 1/2" NPT x 1/4" | 3/4" HT x 1/2" | 1/2" NPT x 1/4" |
| Filter incl. | — | ✓ | — |
| Price | $21.95 | $20.97 | $7.99 |
| See on Amazon → | See on Amazon → | See on Amazon → |
Why Drip Zones Fail (And What You’re Solving for Before You Buy Anything)
The most common failure mode in drip zone design isn’t a bad product — it’s mismatched pressure and flow. Understanding why this happens protects you from a very frustrating commissioning day.
Municipal water supply arrives at your house at 60–80 PSI (pounds per square inch — the force pushing water through pipe). Standard drip emitters and poly tubing are rated to work best at 15–30 PSI. Run your drip system at full line pressure without a pressure regulator and two things happen: emitters pop off, and cheaper poly tubing balloons at fittings. Per the Irrigation Association’s Landscape Irrigation Best Management Practices guide, pressure regulation is listed as one of the non-negotiables for drip system reliability — not a nice-to-have.
The second failure mode is exceeding your GPM (gallons per minute — the volume of water your zone can handle at once) budget. Every zone is controlled by a valve, and every valve is rated for a maximum GPM. If you add more emitters than your flow budget allows, the zone starves — some plants get full flow, others get a trickle.
The decision frame before you design anything:
- Measure your static pressure at the backflow preventer or hose bib (use a $15 gauge from any irrigation supplier).
- Do a bucket test: time how long it takes to fill a 5-gallon bucket at the supply point. Gallons per minute = 5 ÷ seconds × 60.
- Note both numbers. Everything you design downstream serves those two constraints.
The Manifold: Your Zone’s Distribution Hub
A manifold is simply a single pipe assembly — usually ¾” or 1” PVC or poly — with multiple outlets that split one main supply line into several lateral runs. In ornamental bed design, the manifold is where you transition from your main irrigation line (typically ¾” to 1” poly or PVC running at higher pressure) down to your drip laterals (usually ½” poly tubing running at regulated pressure).
Why a manifold beats running one long drip lateral: A single long drip lateral loses pressure as you move away from the source. Plants at the far end of a 200-foot run will receive measurably less water than plants near the valve — Colorado State University Extension’s drip irrigation guide notes that lateral length is one of the primary causes of emitter flow variation in residential drip systems. A manifold lets you run several shorter laterals from a central point, keeping all runs within a manageable length (typically under 100 feet for ½” poly with 1 GPH emitters, under 50–60 feet for 2 GPH emitters at higher density).
Manifold Build: The Working Components
A functional drip manifold for an ornamental bed zone includes these elements in order from the valve downstream:
- Isolation valve — a manual shutoff so you can service the zone without killing the whole system.
- Y-filter / screen filter — drip emitters have tiny orifices (openings) rated down to 150–200 mesh. Debris clogs them. UC ANR’s drip irrigation guide recommends a minimum 155-mesh filter for all drip systems. The filter goes before the pressure regulator.
- Pressure regulator — a fixed-pressure device (usually preset at 25 or 30 PSI) that reduces line pressure to drip-safe levels. Hunter, Rain Bird, and Netafim all make inline versions. The Hunter PRF-075 (¾”) and Rain Bird PRF-25 are frequently referenced in irrigation trade literature for residential drip applications. These are not adjustable — they preset at the factory. If you need 25 PSI, buy the 25 PSI version.
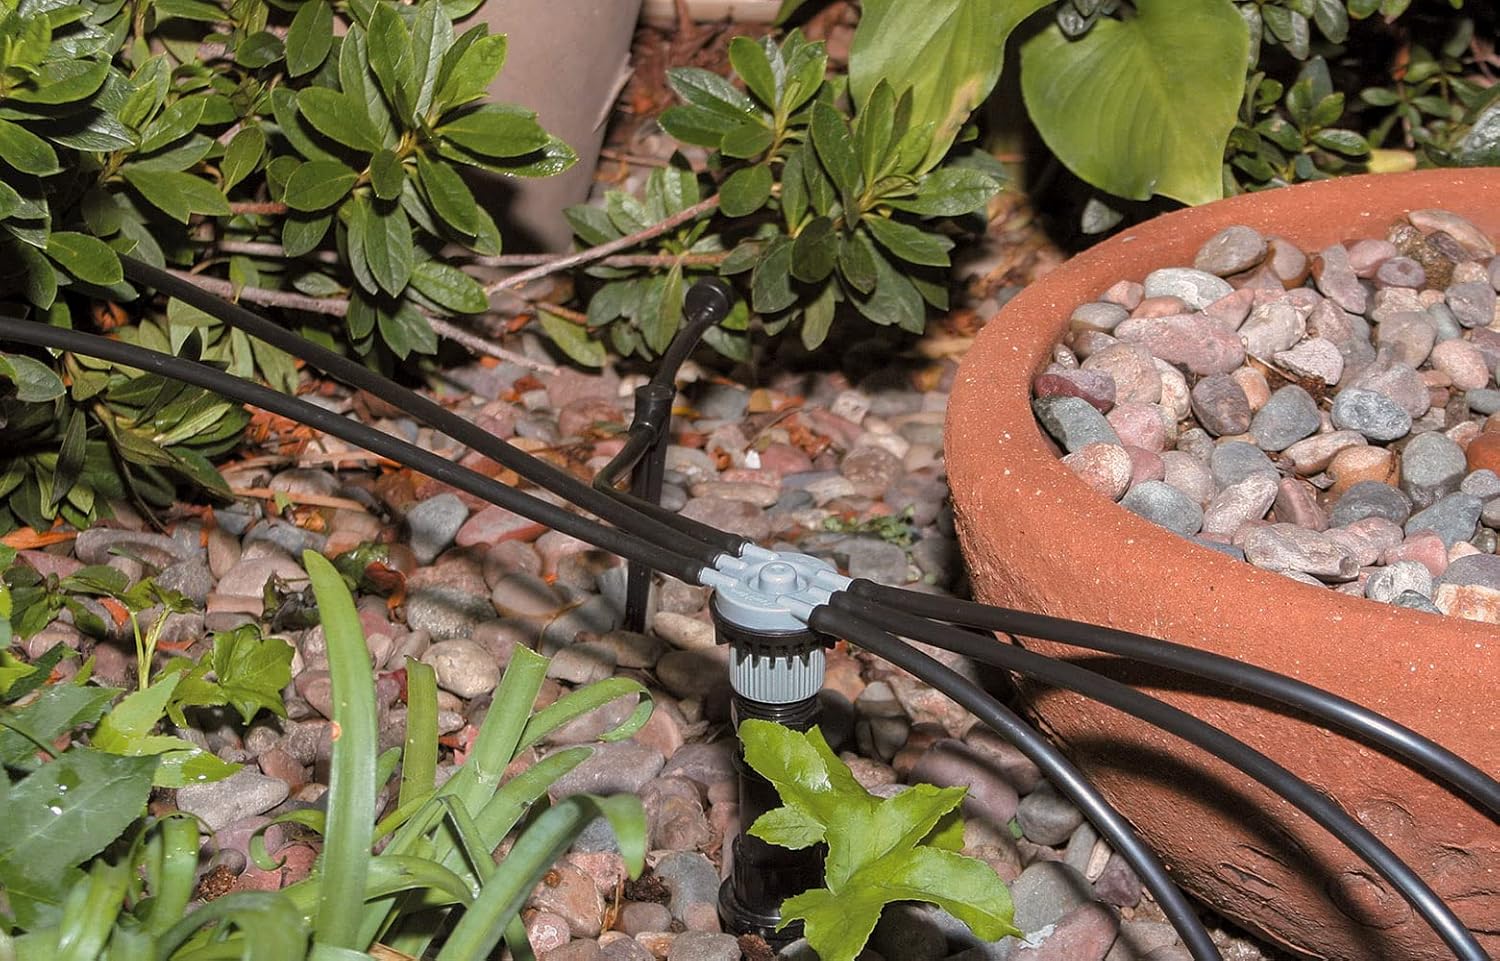
- Manifold body — ¾” or 1” main with barbed outlets (barbed fittings grip ½” poly tubing without glue or clamps). You can buy pre-made poly manifolds from suppliers like Sprinkler Supply Store or build from schedule 40 PVC with barbed tee fittings.
- ½” poly lateral tubing — runs from each manifold outlet to the bed.
- Emitters and distribution tubing — installed directly into the poly lateral via punch-in barb fittings.
Emitter Math: How to Calculate What Your Zone Can Actually Handle
This is the section most guides skip, and it’s where designs go sideways. Here’s the working math.
Step 1: Inventory your plants and assign emitter rates.
Different plants have different water needs. A mature shrub might want a 2 GPH emitter; a perennial plug might only need 0.5 GPH. Group plants into categories (high, medium, low water demand) and assign emitter rates accordingly. Most ornamental bed designs use 1 GPH emitters as a baseline, with 2 GPH for larger specimens.
Step 2: Count total emitters and calculate zone GPM.
Convert total emitter output to GPM: divide total GPH by 60.
By the numbers: 40 emitters × 1 GPH each = 40 GPH total 40 GPH ÷ 60 = 0.67 GPM zone demand Valve rated at 3 GPM? You have 2.33 GPM headroom — room to expand. Same 40 emitters at 2 GPH = 80 GPH = 1.33 GPM. Still well within budget.
Step 3: Check against your measured GPM and valve rating.
Your zone GPM demand must stay below both your measured site GPM and your valve’s rated flow minimum (some valves need at least 0.5 GPM to open fully — check the spec sheet). The EPA WaterSense program notes in its Water-Efficient Landscaping guidance that properly sized drip zones are among the most efficient irrigation configurations available — but only when flow rates are matched to valve and supply capacity.
Step 4: Calculate runtime.
Drip runs long. A rotary head zone might run 20–30 minutes. A drip zone applying the same amount of water runs 1–3 hours because the flow rate per emitter is so much lower. Use this formula:
Runtime (hours) = (Zone area sq ft × weekly water need in inches) ÷ (96.25 × GPM ÷ zone area)
For a simpler working rule: if your plants need 1 inch of water per week and your emitter spacing puts one 1 GPH emitter per 4 square feet of bed, you need approximately 2–3 hours of runtime per week in moderate conditions. Adjust for actual evapotranspiration (ET) rates — your Rachio 3 or Hunter Pro-HC will do this automatically if you’ve enabled weather intelligence.
Product Selection: Where to Spend and Where to Save
The ornamental bed drip zone is one place where component quality directly correlates with long-term reliability. Here’s the tradeoff matrix as it stands in 2026:
Pressure regulators: This is not the place to cheap out. A failed or inaccurate pressure regulator is invisible until emitters start failing. Hunter and Rain Bird pressure regulators consistently receive strong marks in irrigation trade reviews for holding their rated pressure across flow ranges. Netafim’s regulators are spec’d for agricultural drip and are over-engineered for residential use — worth considering if you’re installing a system you won’t want to touch for ten years.
Emitters: Netafim Woodpecker and Rain Bird’s XB-Series pressure-compensating emitters (PC emitters maintain the same output across a range of pressures, compensating for minor pressure variation along a long lateral) are referenced across irrigation trade literature as the benchmark for ornamental bed applications. PC emitters cost more per unit than non-compensating types — roughly $0.50–$1.00 versus $0.10–$0.25 — but on any lateral longer than 30–40 feet or on sloped beds, the flow consistency is worth it. This Old House’s drip irrigation installation coverage consistently mentions pressure-compensating emitters as the upgrade that matters most for uneven terrain.
Poly tubing: ½” distribution tubing from Rain Bird or Netafim is rated for UV exposure and temperature cycling. Generic poly from big-box stores is thinner-walled. Operators installing systems for light-commercial clients and property managers report that name-brand tubing holds fittings better over time — a meaningful factor when you’re not the one who gets the call when a barb blows off a fitting in July.
Manifold assemblies: If you’re building multiple bed zones across a property, pre-made poly manifold assemblies from Sprinkler Supply Store or IrrigationDirect save meaningful time versus building from PVC components. At the $1,500–$5,000 project level, standardizing on a single manifold format also simplifies maintenance.
Zone Logic: What Goes on This Zone and What Doesn’t
Ornamental beds are not monolithic. A well-designed drip zone separates plantings by water need AND by sun exposure. This is the same zone logic that governs turf design — just applied to beds.
What belongs on a single drip zone:
- Plants with similar water requirements (don’t pair a hydrangea with a lavender on the same zone — their needs conflict)
- Same general sun exposure (a shaded north-facing bed and a full-sun south-facing bed should not share a zone — their ET rates differ significantly through the season)
- Similar soil type (sandy and clay soils have different infiltration rates; mixing them on one zone means some plants are waterlogged while others are dry)
What to split onto separate zones:
- Annuals vs. established perennials (annuals need more frequent, lighter cycles; established perennials want deep, less frequent watering)
- Slopes vs. flat ground (even with PC emitters, steep slopes create enough pressure differential to warrant their own zone and often their own pressure regulator setting)
- Large specimen shrubs vs. ground cover plantings
The Irrigation Association’s best management practices documentation is explicit that zone segmentation by plant type and microclimate is a primary driver of system efficiency — not a design luxury.
The Buying Decision
Here’s the if/then framework for where you are right now:
If your bed zone is under 500 sq ft with consistent sun exposure and similar plant types: A single drip zone with a standard inline pressure regulator (Rain Bird PRF-25 or Hunter PRF-075), a 155-mesh Y-filter, and non-compensating 1 GPH emitters is the right call. Keep laterals under 50 feet. Budget: $80–$180 in components.
If your beds are larger than 500 sq ft, on a slope, or mixing high- and low-water-demand plants: Invest in pressure-compensating emitters and a manifold with multiple shorter laterals rather than one long one. Add a second zone if water demand categories diverge. Budget: $200–$400 in components per zone.
If you’re speccing this across multiple properties at the light-commercial level: Standardize on Netafim or Rain Bird PC emitters, pre-built poly manifold assemblies, and document your emitter-per-plant assignments for each property. The per-unit cost premium on quality components is a fraction of a single callback to fix a failed zone mid-summer.
On controllers: A Rachio 3 or Hunter Pro-HC with weather-based ET adjustment will reduce runtime on drip zones automatically during cool or wet weeks — the EPA WaterSense program cites smart controller integration as delivering 15–20% additional water savings on top of efficient hardware. For a drip zone on ornamental beds, that’s not a small number over a season.
Measure your pressure. Count your emitters. Do the GPM math before you buy. Every other decision in this guide follows from those three steps.