September 3, 2026 • Tomás Guerreiro • 10 min reading time • Specs verified June 18, 2026
Drip Irrigation Faucet Connection Kits and Manifold Heads: Building a Code-Correct Entry Point for Any Drip Zone
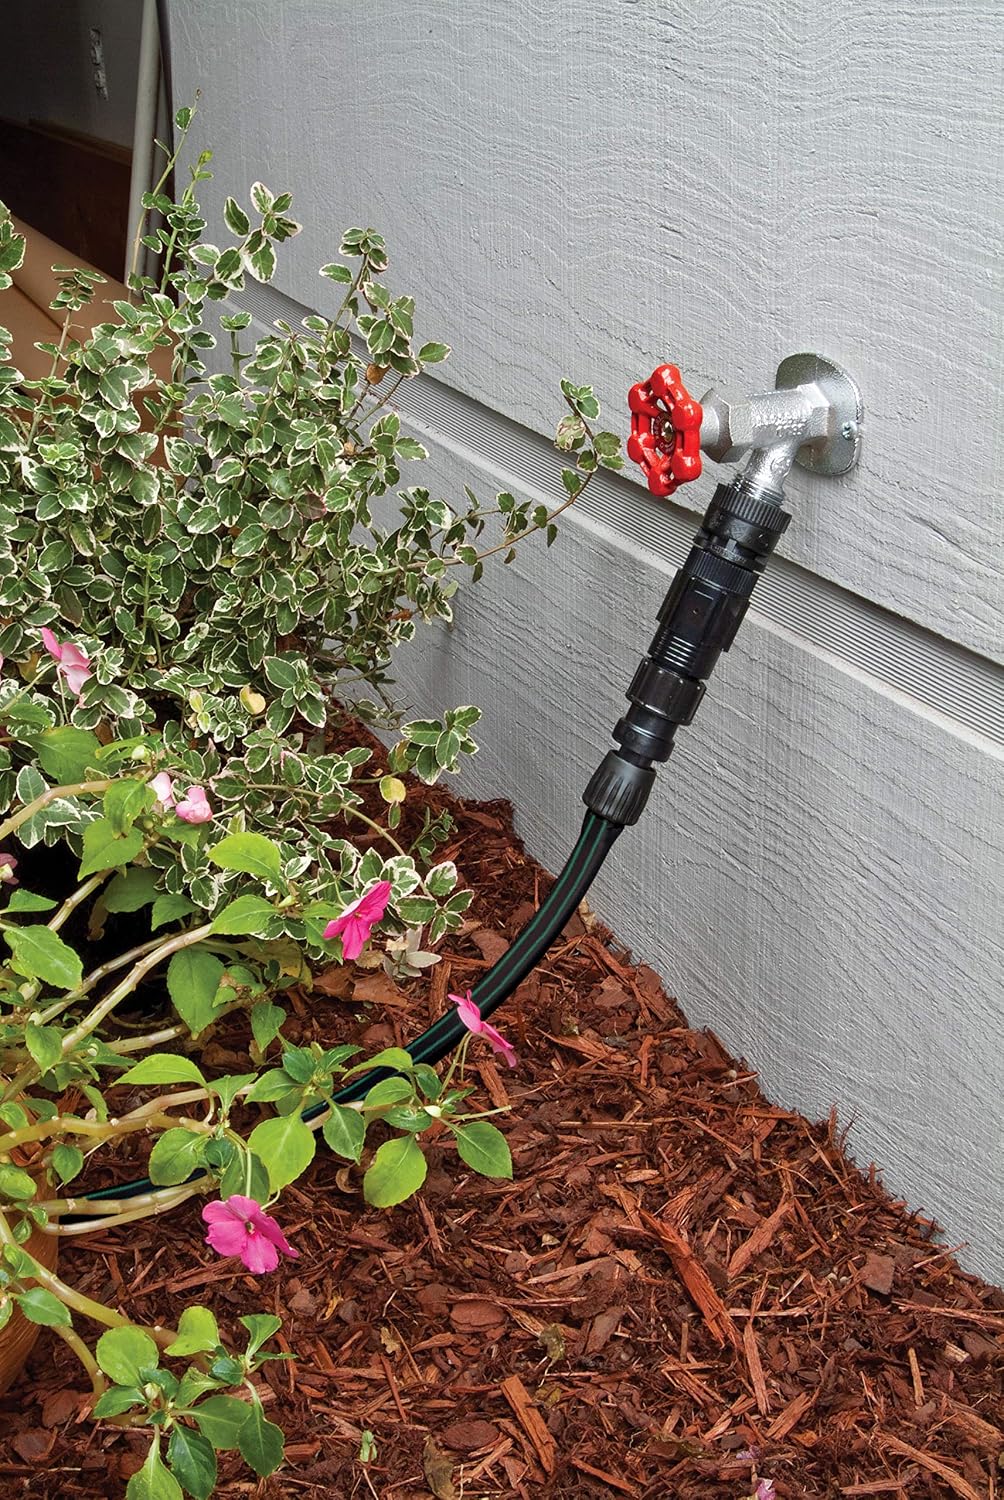
Drip irrigation sounds simple — run a tube, poke in some emitters, turn on the water. In reality, the entry point between your faucet (or valve) and the first emitter is where most systems succeed or fail. That entry point needs to handle four jobs: prevent water from flowing backward into your potable supply (a code requirement in virtually every U.S. jurisdiction), filter particulate before it clogs your tiny emitter orifices, regulate pressure down to the 15–25 PSI that drip components are rated for, and then distribute flow to multiple lateral lines. Miss any one of those four jobs, and you’re either violating plumbing code, blowing apart fittings, or nursing clogged emitters every season. This guide walks you through exactly how those components stack together, which products the DIY and light-commercial community has converged on, and how to make the buy decision for your specific situation — whether you’re running one raised bed off a hose bib or speccing a six-zone drip manifold system across a commercial property.
| EDITOR'S PICKRain Bird MANIFPRPS2 Drip Irrig… | Mid-tierRain Bird FCKIT-1PK Drip Irriga… | Budget pickRain Bird MANIFRE6S Drip Irriga… | |
|---|---|---|---|
| Ports | 9-port | — | 6-port |
| Pressure reg | 25 PSI | 25 psi | ✗ |
| Flow control | Adjustable | — | Free flow |
| Inlet size | 1/2" NPT | 3/4" hose thread | 1/2" NPT |
| Outlet size | 1/4" drip | 1/2" drip | 1/4" drip |
| Filter incl | — | ✓ | — |
| Price | $21.95 | $20.97 | $7.99 |
| See on Amazon → | See on Amazon → | See on Amazon → |
The Four-Component Stack: Order Matters More Than Parts Count
The correct assembly sequence from faucet to emitter is not negotiable — it’s derived from hydraulic logic, and getting it backwards creates real problems.
Backflow preventer → Filter → Pressure regulator → Distribution manifold → Lateral lines → Emitters
Here’s why each position is fixed:
Backflow preventer first. This is the code piece. It stops irrigation water — which has contacted soil, fertilizer, and plant matter — from siphoning back into your drinking water supply. The Irrigation Association’s Landscape Irrigation Best Management Practices (2023) lists cross-connection control as a baseline requirement for any irrigation system connected to a potable supply. Skipping it isn’t a style choice; it’s a code violation.
Filter second, before the regulator. Particulate that passes a filter will score the soft seat inside your pressure regulator, degrading its setpoint accuracy over time. Put the filter upstream of the regulator to protect it.
Pressure regulator third. Standard residential supply pressure runs 45–80 PSI. Drip emitters, micro-bubblers, and poly tubing are rated for 15–25 PSI. The UC ANR publication Drip Irrigation in the Home Landscape (UC ANR Publication 8244) specifically notes that operating above 30 PSI is the leading cause of blowout failures at poly-tubing barbed fittings. The regulator is not optional even if your house pressure “feels normal.”
Distribution manifold last in the stack. The manifold — whether a simple hose-end splitter or a pressure-regulating multi-port head — takes that clean, pressure-controlled flow and divides it to your laterals.
The All-in-One Shortcut: Rain Bird FCKIT
For a single hose-bib connection point, the Rain Bird FCKIT (Faucet Connection Kit) bundles backflow preventer, Y-filter, and pressure regulator into one threaded assembly. Owner patterns in aggregated reviews are consistent: buyers who started purchasing those three components individually report getting tripped up by thread-size mismatches and adapter costs, then switching to the FCKIT to simplify. One reviewer noted buying three units across separate garden zones — an implicit endorsement of the kit’s reliability over repeated installs. The FCKIT connects to a standard ¾-inch hose thread and outputs to ½-inch poly tubing, which covers the majority of residential drip mainline scenarios.
The tradeoff: The FCKIT’s pressure regulator is fixed at approximately 25 PSI — right in the middle of the drip operating window. If your zone design requires a non-standard setpoint (say, 15 PSI for micro-spray heads that run best at lower pressure), you’ll want a standalone adjustable regulator instead of the integrated kit.
Distribution: Manifold Heads and Multi-Port Options
Once your entry-point stack is assembled, the manifold is where you split one mainline into multiple laterals — each running to a different plant or bed section.
Rain Bird MANIFPRPS2: The 9-Port Pressure-Regulating Head
The Rain Bird MANIFPRPS2 is a 9-port manifold with individual flow control levers on each port. Owners in long-run reviews describe this feature as the system’s defining advantage: once you’ve dialed each port’s lever to match the flow demand of its lateral, you don’t return to the manifold to make seasonal adjustments. The per-port control essentially lets you balance flow without returning to individual emitters.
One reported quality concern worth flagging: in a set of six units purchased by one reviewer, one arrived with a factory leak at a port fitting. At that purchase volume, a 1-in-6 defect rate is notable. If you’re buying multiple units for a larger install, inspect each port gasket before burial or concealment. The fix, per reviewer accounts, was straightforward — retightening or replacing the port’s O-ring — but it’s worth budget-ing five minutes of inspection per unit.
The MANIFPRPS2 connects to ½-inch poly mainline via a threaded riser connection. More on the riser question in the FAQ below.
6-Port Manifolds for Smaller Zones
If nine ports is more than your zone demands, Rain Bird and several competitors offer 6-port manifold heads on the same connection geometry. These are common in raised-bed gardens where four to six lateral lines cover the full planting area cleanly. The trade-off versus the 9-port is simply capacity — if your design expands, you’ll either tee in a second manifold or swap up.
By the Numbers: Drip Entry-Point Pressure Budget
| Stage | Typical Pressure Drop | Remaining Pressure (from 60 PSI supply) |
|---|---|---|
| Backflow preventer | 2–5 PSI | ~55–58 PSI |
| Y-filter (clean) | 1–3 PSI | ~52–57 PSI |
| Pressure regulator output | Fixed at 15–25 PSI | 15–25 PSI (regulated) |
| Manifold + laterals (50 ft run) | 2–5 PSI | 10–23 PSI at emitter |
The EPA WaterSense program notes that most drip emitters are calibrated at 15 PSI; if your laterals run long or your design is dense, working backward from emitter-rated pressure to the regulator setpoint is worth the calculation. Colorado State University Extension’s Drip Irrigation for Home Gardens (CMG GardenNotes #717) recommends choosing emitter GPH ratings after you know your working pressure at the emitter location, not before.
Emitters and the Last-Mile Decision
Rain Bird SW20 Spot Dripper: Where Generic Fails
At the emitter level, owner experience with the Rain Bird SW20 spot dripper reveals a real quality gap versus generic alternatives. One owner documented switching from a competing brand after repeated clogging and fitting failures; their characterization of the SW20 installation as easier and more reliable tracks with the general pattern across aggregated reviews. The SW20 inserts directly into ½-inch poly tubing via a barbed stake and delivers flow at a rated GPH that matches standard emitter sizing (see FAQ below for the 1 GPH vs. 2 GPH decision logic).
Starter Systems: Rain Bird LNDDRIPKIT
For a first build or a property manager standing up a new zone quickly, the Rain Bird LNDDRIPKIT gives you mainline tubing, emitters, stakes, and the entry-point adapter as a bundled package. Beginner reviewers consistently praise it as a complete starting point; the one upgrade that experienced owners recommend adding immediately is an in-line sediment filter upstream of the kit’s entry fitting, especially in areas served by well water or municipal supplies known to carry particulate. The kit’s included filter screen is functional but sized for the average case — a supplemental 155-mesh in-line filter (widely available as a standalone component) costs under $10 and eliminates a significant source of first-season emitter failures.
The DRIPKITBAG Punch Tool
If you’re inserting barbed emitters or transfer barbs into poly tubing — which you will be, at scale, crawling through an established bed — the Rain Bird DRIPKITBAG hole-punch tool matters more than its price suggests. Reviewers who discover it mid-install consistently express the same sentiment: they didn’t expect a punch tool to matter until they were making their fortieth insertion hole by hand. A clean, correctly sized hole prevents the micro-tears that cause slow leaks at barbed fittings over time. Buy it before the install, not after.
Frequently Asked Questions
Do I need a pressure regulator if my house water pressure is already within the normal range?
Yes. “Normal” residential pressure — typically 45–80 PSI — is far above the 15–25 PSI window that drip emitters and poly tubing are designed for. The UC ANR drip irrigation publication specifically identifies over-pressure as the leading mechanical failure mode. Even at the low end of residential supply (45 PSI), you’re running nearly double the rated pressure for most drip components. A regulator is required, not optional.
What is the correct order of components from faucet to emitter?
Backflow preventer → Filter → Pressure regulator → Manifold → Laterals → Emitters. The filter must precede the regulator to protect the regulator’s seat. The backflow preventer must be first to satisfy code requirements and protect potable water. This sequence is fixed by hydraulic and regulatory logic, not preference.
Can I connect a Rain Bird 6-port manifold head directly to a ½-inch poly mainline without a riser?
Not directly — manifold heads are threaded (typically ½-inch MPT or FPT), and poly mainline is barbed-connection tubing. You need a threaded-to-barb adapter or a short threaded riser (a 3–6 inch piece of ½-inch Schedule 40 pipe with MPT threads) to make that transition. This is a one-part fix, but skipping it and forcing threads onto poly is how you create the slow-leak failures that show up weeks after install.
How do I know if I need a 2 GPH or 1 GPH emitter for a given plant, and does soil type change the answer?
The decision is a function of plant water demand, emitter count per plant, and soil infiltration rate. Colorado State University Extension’s GardenNotes #717 provides a practical rule: use 1 GPH emitters in clay soils (which absorb slowly) and 2 GPH emitters in sandy soils (which drain quickly), with water demand of the plant type scaling the emitter count up or down. A mature shrub in sandy loam might call for two 2 GPH emitters; a perennial in clay might need one 1 GPH emitter run for longer duration. Start conservative — you can always increase run time before swapping emitters.
Should I use thread tape or silicone grease on manifold riser connections to prevent leaks?
Thread tape (PTFE, the white plumber’s tape) is correct for threaded plastic-to-plastic connections. Apply two to three wraps clockwise on male threads before assembly. Silicone grease is appropriate for O-ring and gasket-style connections, not threaded ones. Using silicone grease on threaded poly fittings can actually reduce friction to the point where the fitting doesn’t achieve adequate thread engagement, creating the leak you were trying to prevent.
What is the difference between a micro-dripper, micro-bubbler, and micro-spray, and which plant types call for each?
A micro-dripper (like the SW20) delivers flow drop by drop at the root zone — ideal for individual shrubs, trees, or widely spaced perennials where you want targeted delivery. A micro-bubbler delivers a higher flow rate (typically 0.5–2 GPM) in a gentle flood pattern — used for densely planted groundcovers or trees in basins where you want to fill a defined root zone quickly. A micro-spray delivers a fine fan or circular pattern at low pressure — appropriate for dense plantings like annuals or herb beds where root zones overlap. The Irrigation Association’s Best Management Practices guide notes that mixing emitter types within a single zone creates hydraulic imbalance; zone your micro-sprays separately from drip emitters wherever possible.
The Buying Decision
Here’s the if/then framework for your situation:
- If you’re running one to three zones off a hose bib: The Rain Bird FCKIT handles your entry-point stack in one purchase, and the MANIFPRPS2 covers distribution. Add the DRIPKITBAG punch tool before you start the install.
- If you’re standing up a first zone with no existing components: The Rain Bird LNDDRIPKIT gives you a working system out of one box — just add an in-line sediment filter upstream if your water supply carries particulate.
- If you’re speccing a light-commercial or multi-bed property: Buy your backflow preventer, filter, and regulator as separate components so you can spec setpoints and filter mesh sizes independently, then feed into MANIFPRPS2 units at each zone’s distribution point. Buy the SW20 emitters in bulk — owner reliability reports support them over generic alternatives at the volume where a single emitter failure becomes a service call.
In every case: measure your supply pressure first, design your zone to the emitter’s rated operating pressure, and sequence your components correctly. The entry point is where drip systems earn their reputation for reliability or spend it.